

A quick note: a few links below are affiliate links. Buy through one and we may earn a small commission. It never costs you more, and we only point to gear we'd actually put in front of our own dogs. As an Amazon Associate I earn from qualifying purchases.
Sun, snow, or rain, the walk still happens. Your dog needs it every day.
And every day those paws come back carrying dirt, road salt, or worse. Cleaning them is not just about your floors, it is about his health.
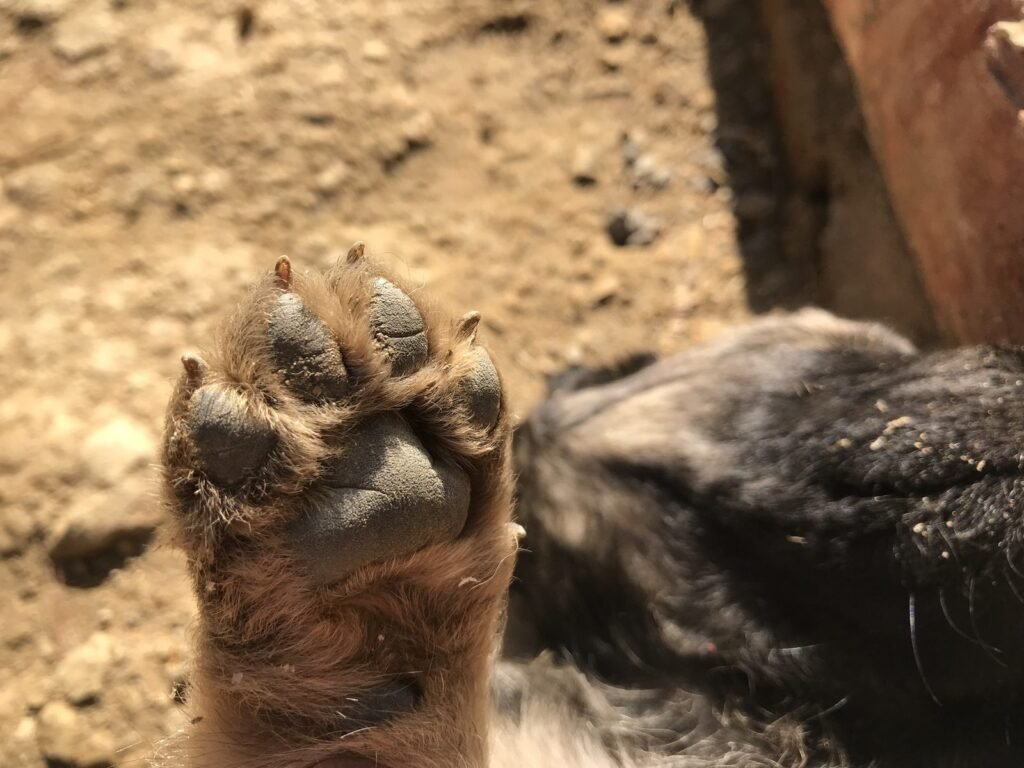
Cleaning paws can be a wrestling match, so a little prep goes a long way. It is also your best chance to catch a cut or a sore early, before it turns into a vet bill.
Below you will find the precautions to take before you head out, plus how to clean your dog’s paws after a walk.
Before Going on a Walk
A few moves before you leave make the cleanup afterward far easier.
Prepare Your Tools
Stage your supplies by the door so you can clean those paws the second you walk in.
A good kit might include:
- Dry towels
- Water spray bottle
- Pet wipes
- Paper towels
- Paw wax
- Paw washer
- Doormat or runner
- Paw cleaning mitts
- Dog shampoo
Keep Foot Hair Trimmed
This one is big for the long-haired breeds. In winter, ice balls clump up in that extra fur, and they hurt. The rest of the year, the same hair grabs every bit of dirt on the trail.
Trim the hair between the pads and around the sides of the foot so it stops collecting debris. Leave a little for protection, and do not go too close. The skin there is sensitive, and it is easy to nick a pad by accident.
That bit of leftover hair actually shields sensitive skin against irritants like the salt spread on roads all winter.
Not sure how to trim it? Have a vet or groomer show you once, then you can handle it at home.
Use Dog Boots (Booties)
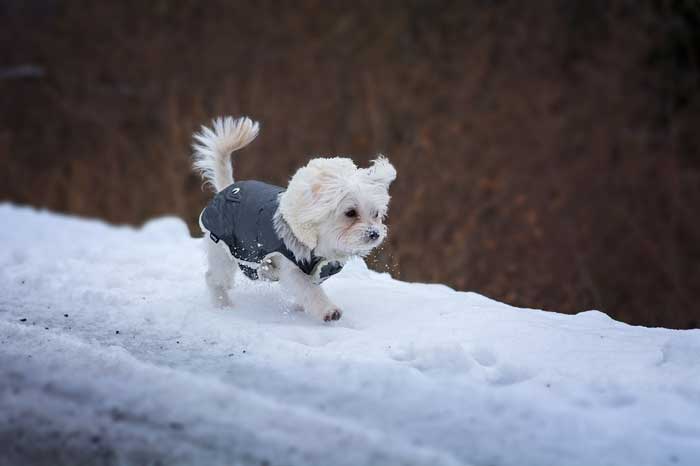
If your dog tolerates them, boots are the best paw protection going. They keep the paws clean and the salt off the skin entirely. Keep a spare pair around, because one always seems to vanish into a snowbank.
Watch the snow depth, though. If it tops the boots, ice balls can still form on the fur above them and need dealing with later.
The moment you are back inside, pull the boots off and pat the paws dry with a towel.
Fit is everything here. Boots that are too big rub and slip off mid-walk, which defeats the whole point.
Apply Paw Wax
Paw wax does less than boots, but it is a solid option in milder weather. Just rub a layer onto your dog’s pads before you head out.
It is built for cooler temperatures and gives some defense against cold and irritants. Skip it in summer, though, since heat melts it right off.
It is also a nice way to keep the pads moisturized. What it is not is a treatment for an actual scrape or cut.
How to Clean Dog Paws After a Walk
Take every precaution you like, and some dirt and a few ice balls will still find their way onto those paws.
Doormat
A doormat is your first line of defense. It is worth teaching your dog to wipe paws on it on cue.
A long runner mat works too. Let him walk its length on the way in, and it strips off a good amount of dirt before he hits the floor.
Minor Cleaning
For lightly dirty paws, mist them with a spray bottle, then dry them well with a paper towel or washcloth.
Pre-moistened pet wipes speed things up. One hard rule: never use wipes made for people. They can carry chemicals your dog should not be licking off his feet. This ties closely into what helps when paw licking turns raw, which we cover elsewhere on the site.
Check the label says safe for pets. That tells you there is no alcohol, no petrochemicals, no added fragrance, none of the stuff dogs should not have.
Major Cleaning
For really filthy paws, head to the sink or tub. A cleaning mitt or a loofah earns its keep here.
Small dogs are easy in the sink, or you can leave a shallow water tray by the door. Bigger or hairier dogs are simpler in the bathtub. Work in a little dog shampoo and rinse with lukewarm water.
There is also a clever gadget called a paw washer. You dip one paw at a time into a little chamber, towel it off, and pour out the muddy water. Some come in portable versions for travel.
Not every dog takes to a paw washer right away, so expect a little training before he is comfortable with it.
Getting Rid of Ice Balls
After a romp in the snow, ice balls tend to build up in the fur. Follow the precautions above and you will see far fewer of them.
Still, you should know how to clear them when they show up.
- Soak the paws in a bowl of warm water. Warm, not hot.
- For a heavy buildup, give him a full warm bath.
- If some ice hangs on, a warm towel or a hairdryer on low will loosen it.
- Finish by moisturizing the fur with a paw balm.
Never yank the ice out by hand. It pulls on the fur and hurts.
Clean Nails and Toes
Do not stop at the pads. Grime hides between the toes and under the nails, and those spots need the extra attention.
Gently spread each toe and clean between them, then press lightly on the pad to pop the nails out and wipe underneath with a pet wipe.
Keeping the nails trimmed helps too, since shorter nails trap less dirt.
Dry and Moisturize
If the paws only got wet, no salt, dirt, or chemicals involved, a towel is all you need. Same goes after a wash.
Take a dry towel and gently squeeze each paw to push out the water. Make sure the pads themselves are dry.
No towel handy? Paper towels will do in a pinch.
Once they are dry, moisturize. Use a ready-made paw wax or balm, or make your own from natural ingredients like shea butter, olive oil, coconut oil, and beeswax.
Whatever goes on those paws ends up in his mouth, so it has to be something non-toxic.
Some owners reach for petroleum jelly, but too much can backfire. Best case, a little diarrhea. Worst case, it carries carcinogens.
Check for Cuts or Blisters
Cleaning time is the perfect moment to scan for cuts or blisters. A cut that meets road dirt can get infected fast.
If a cut looks infected, get to the vet right away.
For minor wounds, wash with warm water, clean with a mild antiseptic, dry, then dab on an antibacterial lotion or spray made for pets.
Dry, cracked, or chapped pads usually just need regular moisturizing with a paw balm. If the skin cracks deep enough to bleed, that is a vet visit.
Cut a paw on sharp ice? Do not panic. Press steadily to stop the bleeding, then clean with warm water and a diluted antiseptic. A deep cut needs medical care and may need stitches.
Final Thoughts
Paws need a little extra care after every walk, and a lot more of it in winter.
Keep a few supplies by the door, run through these steps, and you will keep your dog’s paws clean, healthy, and free of the salt and grit that cause trouble.
It’s worth reading our post on telling apart allergy licking from boredom licking if this applies to your situation.
Plenty of owners in this exact spot also look into getting dog urine out of couch cushions.
Frequently asked questions
Why is my dog licking their paws so much?
Allergies come first, then irritants picked up on walks. The rust-colored stain on the fur is yeast fed by saliva, which means the licking has been going on for weeks, not days.
How often should dog nails be trimmed?
Every three to four weeks for most dogs. If you hear clicking on a hard floor, they are already long enough to push the toes out of alignment.
Do dogs need paw protection in winter?
In a salted city, yes. Either a balm before the walk or a rinse in lukewarm water after it, because road salt burns the pads and dogs then lick it off.
Google lets you pick which sites come up first in your own results.